|
| |
|
|
|
To build a 6" x 20" light table, you need the following materials:
|
|
4 ft. of 1" x 4" pine, cedar, fir, etc. (Note: actual dimensions of 1" x 4" lumber are 3/4" x 3 1/2") |
|
|
6" x 20" of 3/16" white (opaque) plexiglas. I got mine from a sign shop for $4.00. |
|
|
18" fluorescent lamp fixture. I used an 'Under Cabinet Light Fixture' made by Lights of America; cost was $7.39 |
|
|
18" full spectrum fluorescent tube (minimum 5000K, CRI=90). I used a 'GE Sunshine' tube; cost was $7.99. A source for "full spectrum" lamps is your local Home Depot or Lowe's. If not available there you can purchase them at www.budgetlighting.com. |
|
|
8 ea. #8 x 1/2 wood screws. |
|
|
8 ea. #8 x 1 1/2 wood screws. |
|
|
1 ea. heavy-duty on/off cord switch. |
|
|
1 ea. 1/4" plastic clamp and #6 x 3/8" screw. |
|
|
4 ea. "stick on" rubber feet. |
Assembly instructions:
|
|
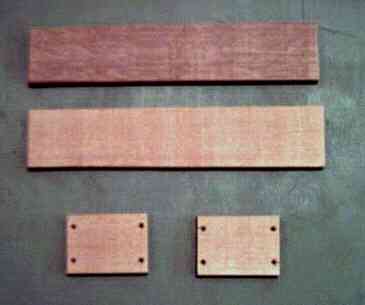
Cut the 1" x 4" board into 4 pieces - 2 pieces 18 1/2" long and 2 pieces 6" long. Drill 3/16" holes in the end pieces to prevent the wood from splitting during assembly. |
|
|
Paint the insides white. Optional - paint or stain the outsides for a more 'finished' look. |
|
|
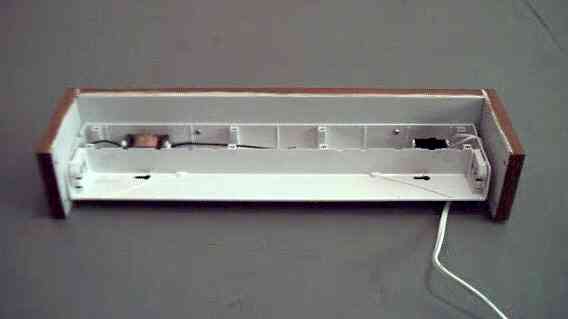
Assemble the 4 pieces on a flat surface into a rectangular box and screw together using the #8 x 1 1/2 wood screws. |

|
|
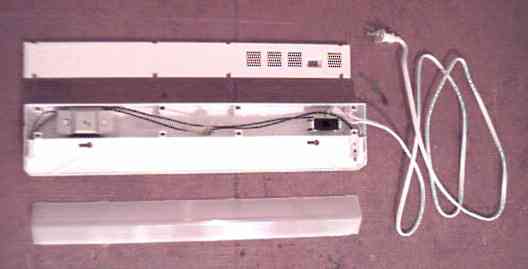
Remove the diffuser lens, bulb, and the plastic cover over the cord and switch of the light fixture. Extend the cord to its' full length. |
|
|
Drill two 3/16" holes in the back of the fixture, approximately 3 1/2" from the right end and 5 1/2" from the left end. |
|
|
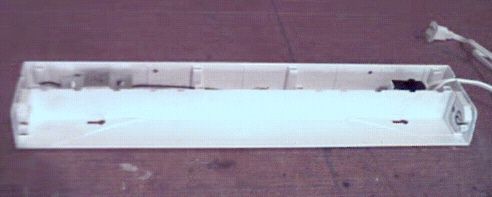
Attach the lamp fixture to the inside of the box, about 1 1/2" down from the top, using two #8 x 1/2 wood screws. You may find it easier to do this if you remove one of the sides of the box. |
|
|
Install the full-spectrum bulb in the lamp fixture and discard the lamp diffusion lens. Replace the plastic cover over the switch. Plug in the cord and turn on the light to test it. Leave switch 'on' and unplug the cord. Re-attach the side of the box. |
|
|
Set the box on a flat surface - all four sides should be flush on the top. Set the 6" x 20" piece of plexiglas on the top of the box and mark for 6 holes (in the center and about 1 1/4" from each corner). |
|
|
Drill six 3/16" holes in the plexiglas. Drill slowly to avoid cracking it. (For a more finished look, countersink the holes.) |
|
|
Attach the plexiglas using the #8 x 1/2" wood screws. |
|
|
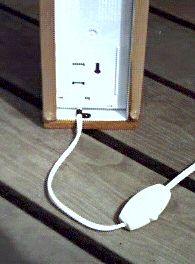
Turn box upside down. Install rubber feet on bottom of box. Secure the cord to the box with the plastic clamp and screw. Install the on/off switch in the cord, and test the lamp. |
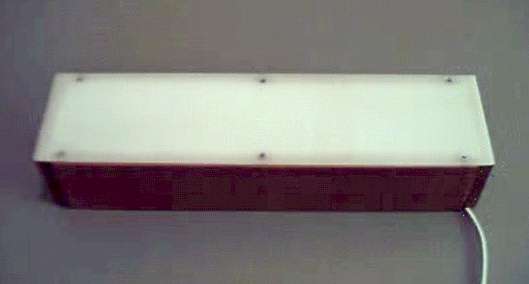
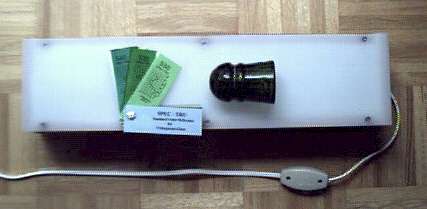
The light table is now complete - so try it out!
Feedback
"While placing the Plexiglas on yesterday, I tightened the last screw
too
hard and crack!...the glass broke. Good news...I purchased another sheet
today, but this time I decided to use velcro. I purchased these small
white squares at Lowes. I put them over the six screw holes in the wood I
had drilled before. It worked great. You may want to recommend this
way to others like me who are less skilled at doing things with their hands."
- John Keener